So, you want to be the ultimate wall in the Lands Between? The kind of Tarnished who stares down a demigod's greatsword without flinching, their health bar barely moving? In 2026, Elden Ring's meta for pure, unadulterated tankiness is more refined than ever, especially with the Shadow of the Erdtree DLC expanding the arsenal. Forget about dodging—true power lies in standing your ground and letting your enemies break themselves upon your shield. This isn't just about defense; it's about becoming an immovable object that also hits like a runaway chariot. Why roll when you can simply not take damage?
The Core Philosophy: Defense is the Best Offense
A true shield build isn't passive. It's about controlling the flow of battle, creating openings with guard counters, and punishing enemies for their aggression. The goal is to reach a state where you can block almost any attack without staggering, your stamina barely dipping, and your health pool remaining a distant concern for your foes. It's a power fantasy of pure resilience.
The Essential Talismans: Your Foundation of Steel
No build is complete without the right talismans. These are the cornerstones that transform a simple shield user into a walking fortress.
🛡️ Dragoncrest Greatshield Talisman
-
Effect: Reduces Physical Damage taken by a whopping 20%.
-
Location: Elphael, Brace of the Haligtree. It's tucked away in a chest on a high platform in the northeast building. A fittingly epic location for an S-tier talisman.
-
Why It's Essential: This is the single most important piece for any tank. A flat 20% damage reduction is insane. When stacked with a greatshield's innate damage negation, physical attacks become tickles. It has no downside and is universally praised. Think about it—would you say no to becoming 20% tougher instantly?
⚔️ Curved Sword Talisman
-
Effect: Increases guard counter damage by 20%.
-
Location: Stormveil Castle, near the Stormveil Cliffside Site of Grace. You can grab this super early!
-
Why It's Essential: Defense is great, but you need to hit back! This talisman turns your defensive posture into an offensive threat. Block an attack, then follow up with a heavy attack for a devastating counter that benefits from this huge damage boost. It's the key to making your tank build lethal.
💎 Pearl Shield Talisman (DLC)
-
Effect: Reduces Elemental Damage taken by 20% while guarding.
-
Location: Found in a chest in a small camp of Messmer soldiers in the southwestern woods, near Taylew's Ruined Forge.
-
Why It's Essential: Mages and dragon breath giving you trouble? This is your answer. While the Dragoncrest talisman covers physical damage, the Pearl Shield handles all that pesky magic, fire, and lightning. Pair it with a Pearldrake Talisman, and elemental attacks will barely scratch you. It's a game-changer in the DLC.
💚 Viridian Amber Medallion +2
-
Effect: Raises maximum Stamina by 17%.
-
Location: Hidden deep within the Darklight Catacombs in the Land of Shadow (DLC).
-
Why It's Essential: Blocking eats stamina. A lot of it. This medallion gives you a massive stamina pool to work with, allowing you to sustain blocks against combos from giant bosses without having your guard broken. There are weaker versions in the base game (like in the Weeping Peninsula), but the +2 from the DLC is the best.
The Supporting Cast: Rounding Out Your Build
These talismans address specific needs and push your build to its absolute limits.
🏺 Great-Jar's Arsenal
-
Effect: Raises maximum Equip Load by 19%.
-
Location: Reward for defeating the three NPC duelists in The Great-Jar's challenge in Dragonbarrow, Caelid.
-
Why It's Great: Want to wear the heaviest armor and wield the heaviest shield without fat-rolling? This is your ticket. It frees up levels you'd otherwise dump into Endurance, letting you invest in Vigor or Strength instead. Imagine carrying a fingerprint shield and a full set of Bull-Goat armor with room to spare!
🐻 Bull-Goat's Talisman
-
Effect: Raises Poise by 33%.
-
Location: In the back of Dragonbarrow Cave, Caelid (watch out for the runebears!).
-
Why It's Great: Poise determines if you get staggered when hit. For a shield user, high poise means you can take a hit while setting up a guard counter without being interrupted. This talisman gives a massive multiplier to your existing poise from armor and shields, turning you into a true juggernaut that never flinches.
⚖️ Roar Medallion (DLC)
Wait, that's not right for a shield build! Let's correct that. A crucial DLC talisman for heavy builds is:
🪨 Stonebarb Cracked Tear (Physick) / Greatshield Talisman
-
Effect (Greatshield Talisman): Reduces stamina damage taken while blocking by 20%.
-
Location: In a carriage chest east of the Erdtree-Gazing Hill in Altus Plateau. Beware the ballistae!
-
Why It's Essential: This is the secret sauce. Reducing the stamina cost of blocking means you can hold your shield up indefinitely against even the fiercest assaults. Combined with a high-stability shield, it makes you virtually impervious to melee attacks. You become a true turtle—a deadly, counter-attacking turtle.
🏋️ Taker's Cameo? No! The DLC Weight Talisman
-
Effect: The player takes 10% less damage when at heavy load, and 20% when overloaded.
-
Location: West of the Highroad Cross, accessed via a Waygate requiring an Imbued Sword Key in the DLC.
-
Why It's Wild: This talisman flips the script. Instead of avoiding heavy load, it rewards you for it. Can't roll? Who cares when you take 20% less damage! It encourages you to wear the absolute heaviest gear possible and embrace being a slow, unstoppable force.
Putting It All Together: The 2026 Meta Loadout
So, what's the ideal setup for the modern shield tank?
-
Primary Talismans (Core):
-
Dragoncrest Greatshield Talisman (Mandatory)
-
Greatshield Talisman (Mandatory)
-
Curved Sword Talisman (For damage)
-
Viridian Amber Medallion +2 (For stamina)
-
-
Situational Swaps:
-
Vs. Mages/Bosses: Swap Curved Sword for Pearl Shield Talisman.
-
Need More Poise/Armor: Swap Viridian Amber for Bull-Goat's Talisman or Great-Jar's Arsenal.
-
The Immovable Object (DLC): Try the weight-based damage reduction talisman for a truly unique, roll-less playstyle.
-
Gear Synergy: Shields & Weapons
Your talismans are useless without the right gear!
-
Shields: Aim for Fingerprint Stone Shield (highest guard boost) or Golden Greatshield (great balance). The Spiralhorn Shield is also excellent for status effect buildup.
-
Weapon: Any heavy, high-damage weapon like a Greatsword or Giant-Crusher works perfectly with guard counters.
-
Armor: Go for the heaviest you can wear without fat-rolling (unless using the DLC weight talisman). Bull-Goat Set is the classic choice for maximum poise and defense.
Final Thoughts: Embrace the Wall
In 2026, playing a shield tank in Elden Ring is more viable and fun than ever. The DLC introduced tools that allow for even more specialized and powerful defensive setups. It's a playstyle that rewards patience, positioning, and timing. You trade the flashiness of dodges for the raw, satisfying power of shrugging off hits that would obliterate other players. So, raise your shield, plant your feet, and show the Lands Between what a true immovable object looks like. After all, what's more intimidating than an enemy you simply cannot hurt? 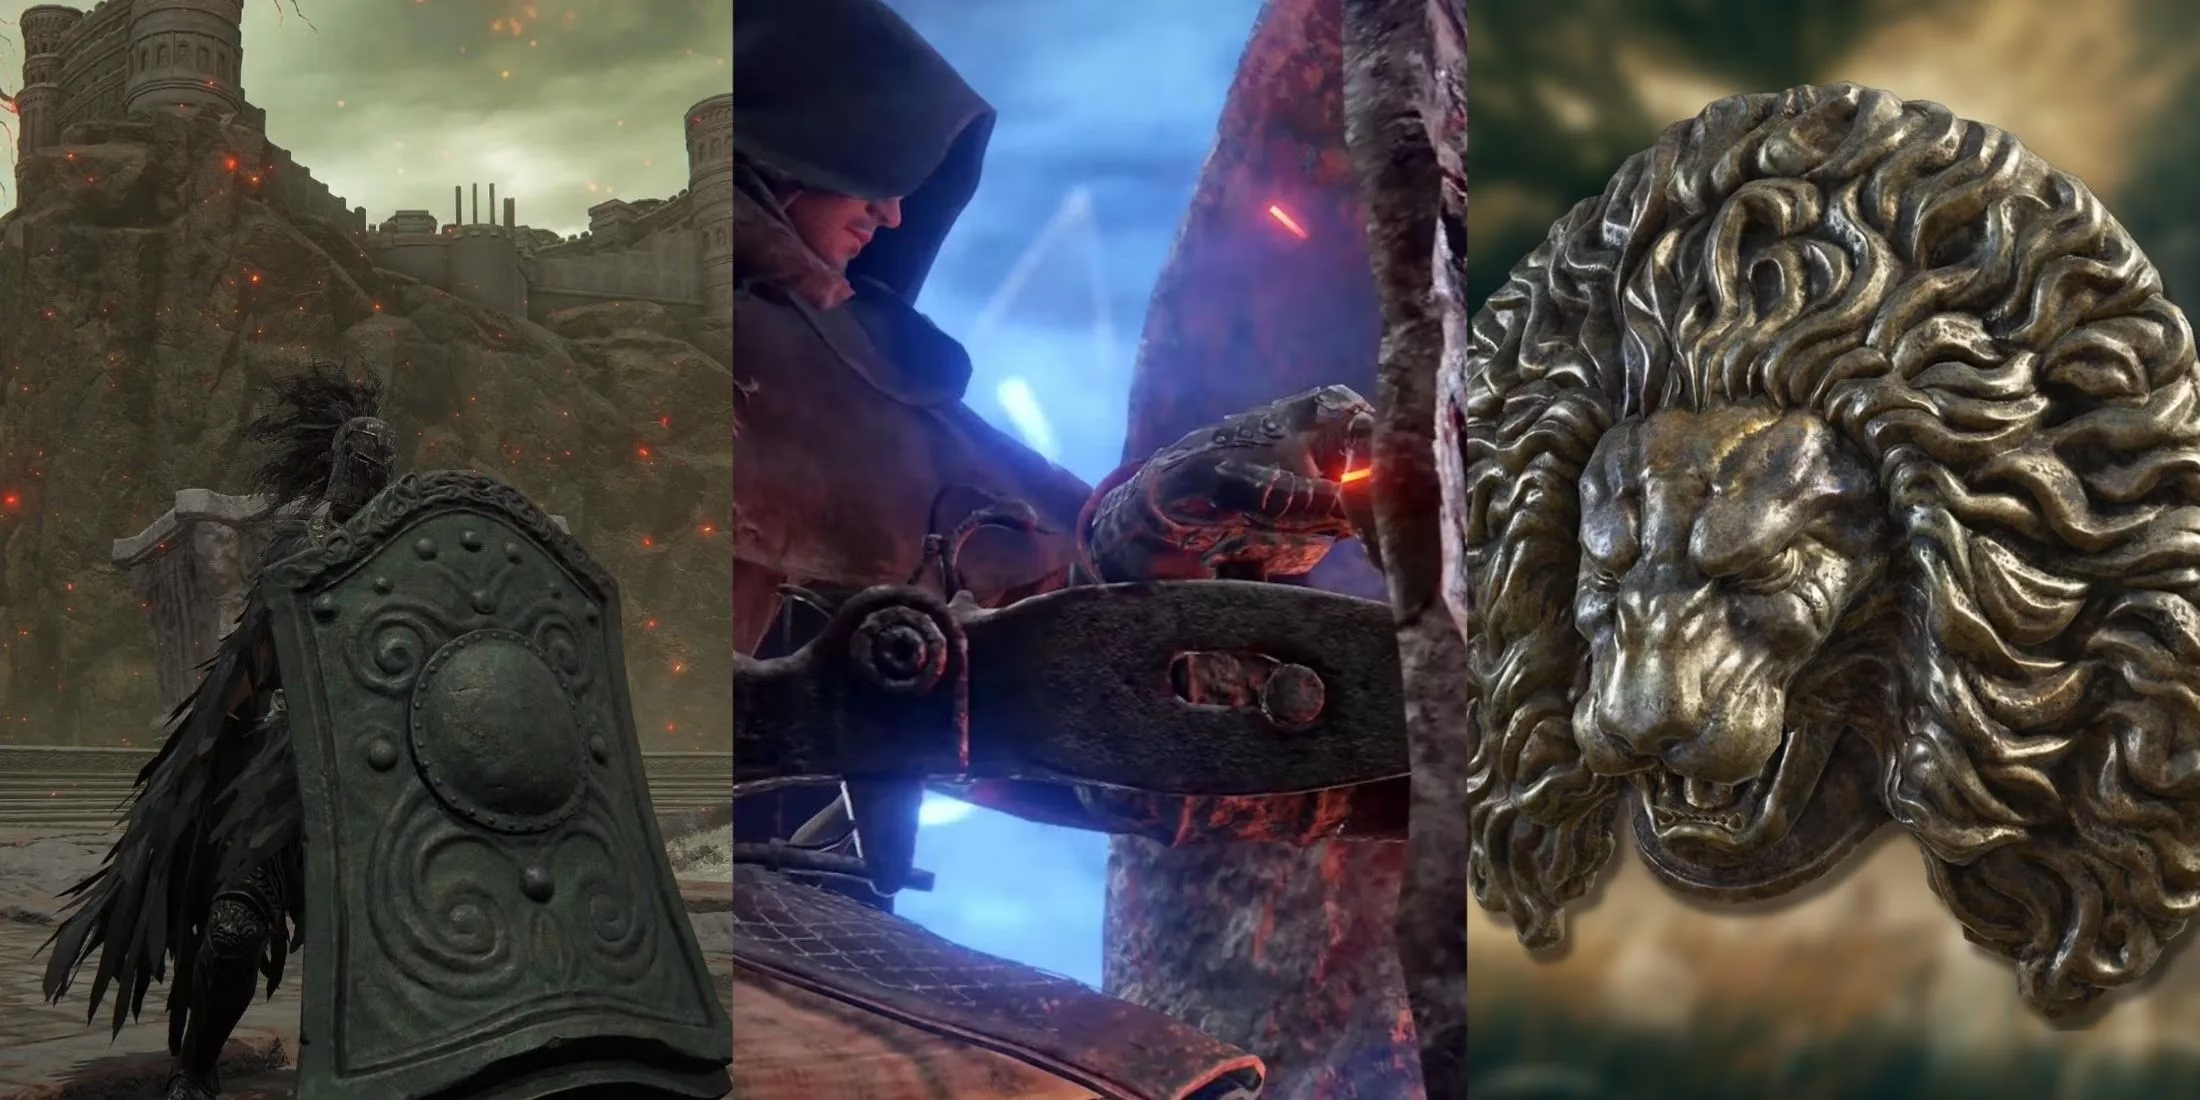
For more insights on the latest anime-inspired gaming trends, news, and meta guides like this ultimate Elden Ring shield tank build, check out AnimeInformer.